Harvest guide
When to Harvest Onions (Signs They're Ready)
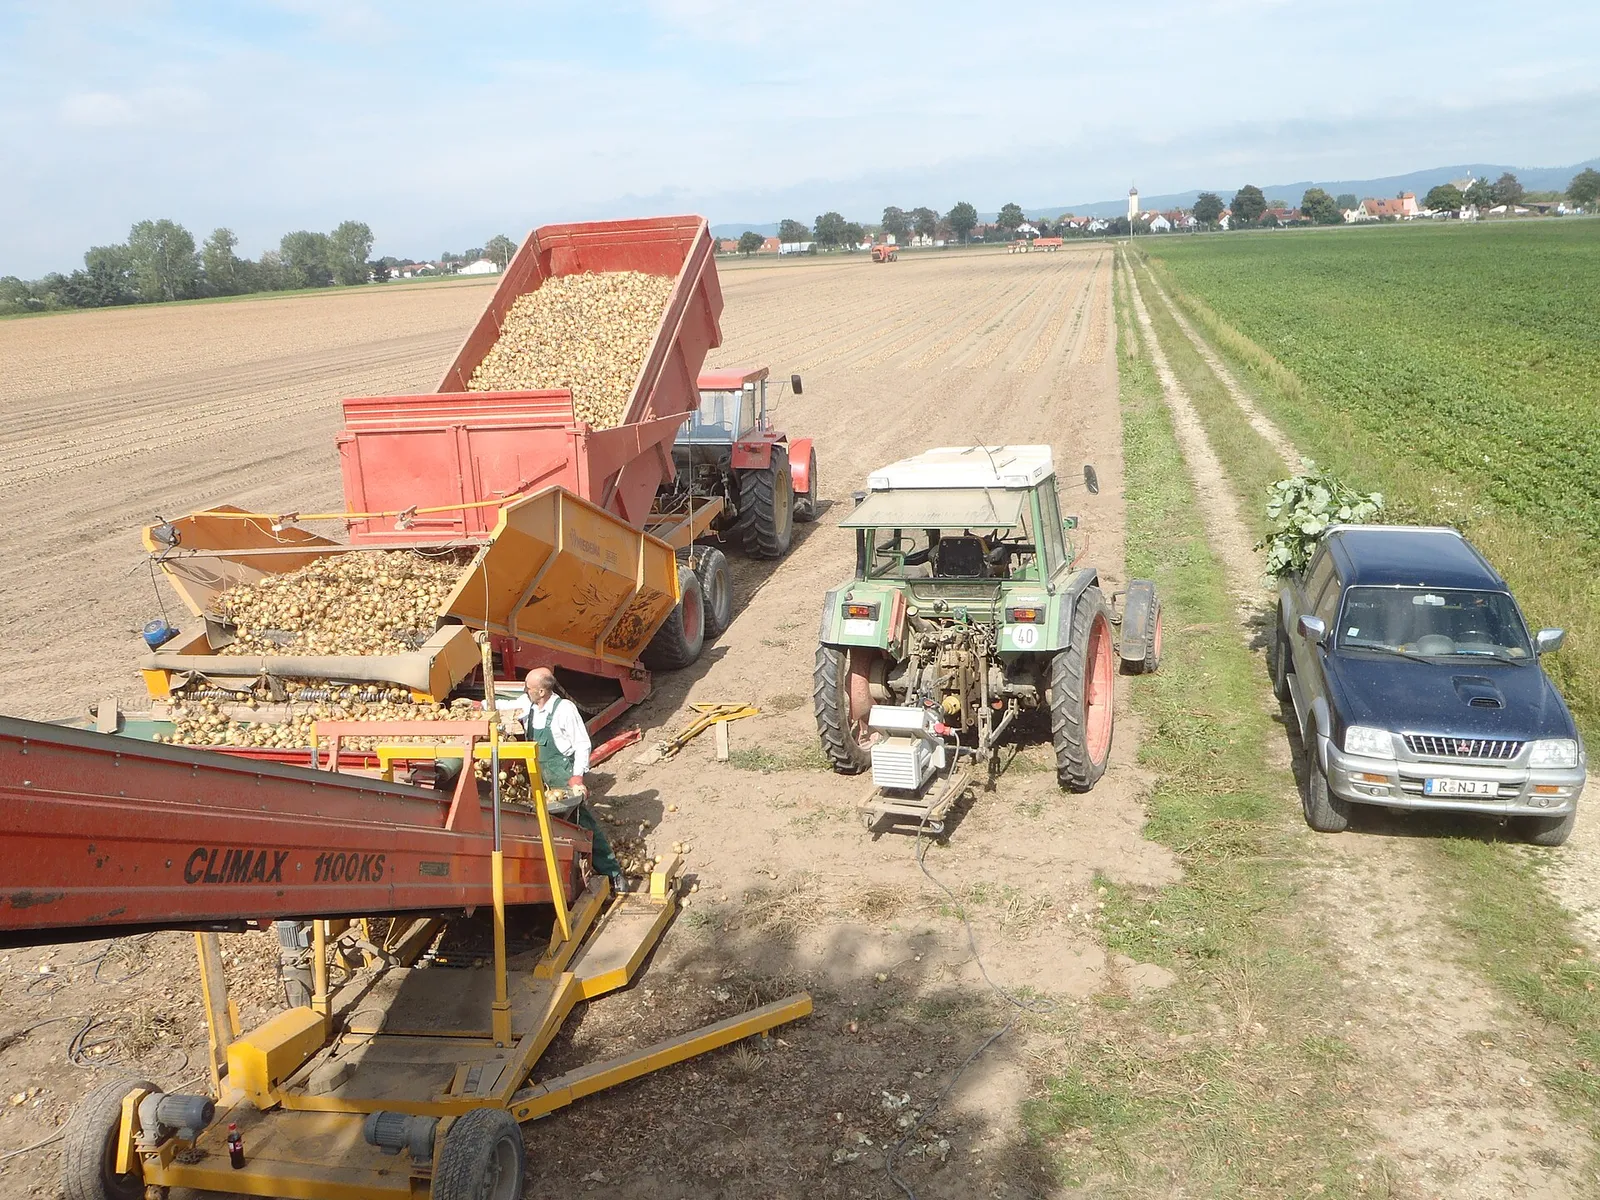
Storage onions are ready when about half to most of the tops have flopped over and the necks soften, usually around 90 to 110 days. Here are the signs, plus how to lift, cure, and store them.
Days to maturity
90–110days
Ready when
Tops flop over and yellow
The short answer
Storage onions are usually ready around 90 to 110 days from planting, when about half to three-fourths of the tops have flopped over, yellowed, and the necks soften. Stop bending tops by hand. Let them fall on their own, then lift the bulbs on a dry day and cure them for 2 to 4 weeks before storage.
Green onions and storage bulbs are two different harvests
Onions give you two crops off the same plant, and the timing splits in two.
Green onions (scallions) come early. Pull them young, once the tops reach about 6 to 8 inches, which Clemson Extension puts at roughly six to eight weeks from a set or transplant. No bulb needed.
Storage bulbs take the long road. They need the plant to size up a full bulb, then signal that it is done. That signal is the tops falling over.
| Onion type | What you harvest | Rough timing |
|---|---|---|
| Green / bunching (scallion) | Slim white stalk, green tops | Tops 6–8″ tall, ~6–8 weeks |
| Storage bulb | Full dry bulb | ~90–110 days, tops flopped over |
The days-to-maturity figure shifts with your onion type. Short-day onions, grown in the South, bulb on about 12 hours of daylight and mature on the early side. Long-day onions, grown up North, wait for 14 or more hours of daylight before they bulb, per the University of Minnesota Extension. Treat the 90 to 110 day window as a starting point, not a stopwatch. The plant tells you the truth.
How to tell storage onions are ready
The onion shows you. Three signs line up when a bulb is mature.
- Tops flop over. When about half to three-fourths of the tops fall over on the soil, the bulbs are done sizing up. Clemson Extension points to roughly three-fourths down. Illinois Extension says harvest when most of the tops have fallen.
- Necks go soft. Pinch the neck just above the bulb. A mature onion's neck is soft and limp. A stiff neck means it is still growing.
- Skins turn papery. The outer scales dry into the thin, crackly skin you see on a store onion.
Wait for the tops to fall on their own. The Illinois Extension warns that bending them over early interrupts growth and gives you smaller bulbs that store poorly.
Common mistake
Bending the tops over to rush the harvest. It feels productive. It costs you. Breaking the tops early cuts off the bulb's last growth, so you get smaller onions that do not keep, per Illinois Extension. Let them flop on their own clock.
How to harvest
Once the tops are down, pick a dry day and lift.
- Loosen the soil. Slide a spading fork under the bulbs and ease them up. Do not yank by the tops, which can tear the neck.
- Lift the bulbs. Pull them by hand once the soil is loose.
- Let them dry in place. Illinois Extension suggests leaving lifted onions in the garden a few hours so sun and wind dry the outsides. If rain is coming, move them straight to a covered, airy spot instead.
Keep the tops and roots on for now. You trim them after the cure, not before.
Curing and storage
Curing is what turns a fresh bulb into one that keeps for months. Skip it and your onions rot in the bin.
Spread the onions in a single layer in a warm, dry, shaded spot with good airflow. A garage, carport, or covered porch works. The University of Minnesota Extension calls for a warm (75°F to 90°F), well-ventilated area for two to four weeks, until the outer scales are dry and the neck is tight. Illinois Extension lists a similar 2 to 3 week cure, finished when all the tops are dry and brown.
When the necks are tight and the skins are papery, the onions are cured. Then:
- Trim the tops to about 1 to 2 inches above the bulb. Clemson Extension trims to roughly 1 to 1.5 inches.
- Trim the roots close to the base.
- Store cool and dry. Clemson puts storage at 45°F to 55°F. Keep them in mesh bags, slatted crates, or baskets in a dark, dry, cool place that will not freeze, per Illinois Extension.
| Step | Target |
|---|---|
| Cure | 2–4 weeks, warm and airy, in shade |
| Done when | Necks tight, skins papery, tops brown |
| Trim | Tops to 1–2″, roots close |
| Store | 45–55°F, dark, dry, well-ventilated |
Pro tip
Sort your onions before they go into storage. Set aside any bulb with a thick, fat neck. Illinois Extension explains that thick-necked onions still hold green, moist tissue and will not keep. Eat those first within a few weeks. Send only the clean, tight-necked bulbs to long storage. One rotting onion can spoil the box.
Common mistake
Washing the bulbs and storing thick-necked ones. Water on a curing onion invites rot. Brush off dry soil instead and leave the skins intact. And do not store bruised, cut, or thick-necked bulbs long term, which Illinois Extension flags as the ones that will not keep. Use them first.
The short version
Storage onions are ready when about half to three-fourths of the tops flop over and the necks go soft, usually around 90 to 110 days. Lift them on a dry day, cure for 2 to 4 weeks until the skins are papery, then trim and store cool and dry. Pull the thick-necked bulbs for the kitchen and keep only tight necks for the bin.
Harvesting other crops this season? Onions cure a lot like their cousin in the when to harvest garlic guide, and the same lift-and-cure patience pays off in when to harvest potatoes. Planning next year's bed? Set your spacing with the Plant Spacing Calculator, and feed the soil first with how much compost do I need.
How many plants fit your bed
When you replant, size the bed first. Run your dimensions through the calculator to see how many plants fit in square, triangular, and square-foot layouts.
Try it — Plant Spacing Calculator
Full calculatorExtra to cover losses (10% is typical).
You can plant
32plants
- Per row
- 8
- Rows
- 4
- Buy (incl. spare)
- 36 plants
Common questions
How do I know when onions are ready to harvest?
Watch the tops. Storage onions are ready when about half to three-fourths of the tops have flopped over, yellowed, and the necks have gone soft and limp at the base. The Clemson and Illinois extensions both point to the tops falling over as the main cue. Pinch a neck near the bulb. If it gives easily and feels soft, the onion is mature.
When should I harvest green onions versus storage onions?
Green onions (scallions) are a different harvest. Pull them young, once the tops are about 6 to 8 inches tall, per Clemson Extension. Storage bulbs need much longer. They are not ready until the tops fall over on their own, usually around 90 to 110 days from planting.
Should I bend the onion tops over to speed up harvest?
No. Let the tops fall on their own. The Illinois Extension warns that breaking the tops over early interrupts growth, which gives you smaller bulbs that do not keep as well. Wait for the plants to flop naturally, then lift.
How long do onions need to cure before storage?
Plan on about two to four weeks. The University of Minnesota Extension says to keep onions in a warm, well-ventilated spot until the outer scales are dry and the neck is tight. Illinois Extension lists a similar 2 to 3 week cure. Onions are cured when the tops are fully dry and the skins are papery.
Why won't my onions store well?
Thick-necked bulbs are the usual culprit. The Illinois Extension notes that onions with thick necks still hold green, moist tissue and will not keep. Sort those out and eat them first. Washing bulbs or skipping the cure also cuts storage life. Store only clean, dry, tight-necked onions.
Sources
Agronomic claims in this guide are checked against these primary sources.
- Growing onions in home gardens — University of Minnesota Extension
- Onion | Home Vegetable Gardening — University of Illinois Extension
- Homegrown onions tell you when to harvest them — Michigan State University Extension
- Onion, Leek, Shallot, & Garlic — Clemson Cooperative Extension HGIC
Keep reading
When to Harvest Garlic (Signs It's Ready)
Fall-planted garlic is ready in early-to-mid summer, when the lower 3-4 leaves have browned but 5-6 upper leaves stay green. Here are the signs, the lift, and how to cure it.
Read →When to Harvest Potatoes (Signs They're Ready)
Dig new potatoes around flowering, about 6 to 8 weeks after planting. Wait for maincrop potatoes until the tops die back and the skin sets, roughly 90 to 120 days.
Read →When to Harvest Carrots (Signs They're Ready)
Carrots are ready about 50 to 80 days after sowing, when the shoulder is roughly 1/2 to 3/4 inch across at the soil line. Here are the cues, the lift-don't-yank method, and how to store them.
Read →When to Plant Zucchini (Frost + Soil Temp Timing)
Plant zucchini after your last spring frost, once the soil hits at least 60 F (ideally 65 to 70 F). Direct-sow seeds 1/2 to 1 inch deep, or set out transplants started 2 to 4 weeks earlier. Warm zones get a second fall crop.
Read →When to Plant Tomatoes (Frost + Soil Temp by Zone)
Set tomato transplants out 1 to 2 weeks after your last spring frost, once soil hits at least 60 F. Start seeds indoors 6 to 8 weeks before that frost date. Cold soil stalls them, so wait for warmth.
Read →When to Plant Swiss Chard (Spring and Fall Timing)
Plant swiss chard 2 to 4 weeks before your last spring frost, once the soil hits 40°F. Sow again 3 to 4 weeks before the first fall frost. Seeds go half an inch to an inch deep.
Read →